
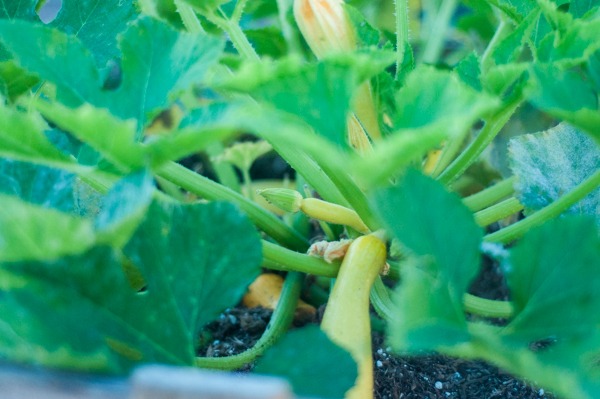
My summer garden this year has blessed me with more yellow squash than I know what to do with. I’ve baked it with sweet potatoes, sliced it up and melted cheese over it and now I’m making bread with it.


I love zucchini bread. I love how it’s less sweet than banana bread, so I figured, why can’t I use my yellow squash as a base for some baked delicious treats? Not to mention, I’m headed up to a family reunion this weekend, so I won’t come empty handed. Yes!
I researched yellow squash bread recipes and found some that looked totally yummy, but had ingredients I don’t normally use to much of, like lots of sugar and oils. So, here’s my own recipe with some healthier options like Coconut Sugar and Coconut Oil, that is made for high heat, and even some walnuts to add some good protein and fat.

A little aside about coconut products, most importantly coconut sugar. What is it and why is it better than table sugar? Coconut sugar is a natural sugar made from sap, which is the sugary fluid of the coconut plant. It is produced by using a two-step process; collecting the liquid in containers and then using heat to evaporate the water. Unlike table sugar or white cane sugar, coconut sugar retains a great deal of its nutrients from the coconut palm: iron, zinc, calcium, potassium, along with some antioxidants, polyphenols and fatty acids. Coconut sugar is still very high is calories, however, so just like regular sugar, use it sparingly.
The biggest thing I like about coconut sugar is that it has a lower glycemic index than table sugar. The glycemic index is a measure of how quickly certain foods can raise your blood sugar levels and coconut sugar has been put in the low range on the GI. Since I get most of my sugar intake from fresh fruits, when I do eat something with add sugar, I get that sugar rush brain feeling and then crash. Depending on the person, the substitution of coconut sugar, can help minimize this awful feeling. Magic!
Healthier Summer Squash Bread
Prep Time: 25 minutes • Cook Time: 45 minutes • Serving: 1 loaf pan
Ingredients:
1 ½ cups flour (I use organic, unbleached)
1 teaspoon baking powder
½ teaspoon baking soda
¼ teaspoon salt
2-3 teaspoons ground cinnamon (I like it cinnamony)
1 teaspoon nutmeg
2 eggs
¾ cup organic coconut sugar
½ cup coconut oil made for high heat (I use Carrington Farms)
2 teaspoons vanilla
1 ½ cups shredded yellow squash
¾ cup chopped walnuts
Procedure:
- Preheat the oven to 350 degrees Fahrenheit.
- Combine the flour, baking powder, baking soda, salt, cinnamon, and nutmeg in a small-medium bowl.
- Combine the eggs, coconut sugar, coconut oil, and vanilla in a separate larger bowl.
- Beat the liquid ingredients well with a hand mixer or Kitchen Aid
- Peel the squash removing any tougher skin and then shred it using a food processor. If that is not available, I like to use my Magic Bullet or even a hand cheese grater. Make sure to discard any bigger seeds, if you let your squash grow a little too big.
- Add in the shredded yellow summer squash to the liquid ingredients.
- Fold in the dry ingredients to the squash mixture, little by little.
- Stir well using a hand mixer or Kitchen Aid until fully combined, being careful not over blend.
- Fold in the walnuts.
- Pour into a greased and floured loaf pan (you can use your Coconut Oil for this, too!).
- Bake for 45 minutes or until a knife inserted in the center comes out clean. (I like to put a sheet of tin foil loosely over the pan and let it bake for 30 minutes and then remove the foil and let bake uncovered for the last 15 minutes. This will help to keep the inside moist and avoid a burnt top.)
- Remove from oven and let cool for 15 minutes.
- Slice and enjoy!
Leave A Comment